A Step-by-Step Guide
Recently, a client approached me with a specific request to automate the segmentation of their newsletter subscriber list based on the choices they make in the subscribe form. This would then allow for targeted communications based on their interests and identity. Their process would flow like this: website visitors fill out a form and from the options they select on the form, get added to a list (or “Segment”) in Constant Contact. One checkbox list captured their identity (e.g., Farmer, Investor, Organization), while the other recorded their topics of interest (e.g., Water, Biodiversity, Forestry).
After some research and testing, I found a solution that worked perfectly. Here’s how I solved the issue and set it up:
Current Tools Weren’t Providing a Solution
Our current form tools we were using, Ninja Forms, and then a plugin we tried, Constant Contact for WordPress plugin, didn’t allow mapping of custom fields beyond standard fields like first name, last name, and email. We needed a more robust solution that could handle custom fields and automate segmentation.
Gravity Forms Pro Allows You To Map Custom Fields to Constant Contact
The paid version of Gravity Forms, paired with their Constant Contact Add-on, provided the functionality needed. Here’s a step-by-step guide for anyone facing a similar challenge:
Step 1: Set Up Custom Fields in Constant Contact
- Log in to your Constant Contact account.
- Navigate to Contacts > Manage Fields.
- Create your custom fields (in my case I created):
- Identity
- Interests
- Save the changes.
Step 2: Install and Configure Gravity Forms
- Purchase the pro version of Gravity Forms.
- Install and activate the Gravity Forms plugin on your WordPress site.
- Install the Gravity Forms Constant Contact Add-On by:
- Navigating to the Add-Ons section in Gravity Forms.
- Searching for the Constant Contact integration download in Gravity Forms account downloads, and installing it on the WordPress site.
- Connect Gravity Forms to Constant Contact using your API key (found in your Constant Contact account settings).

Step 3: Create and Design the Form
- Go to Forms in your WordPress dashboard and create a new form.
- Add standard fields like Name and Email.
- Add you custom field (in my case I created a Checkbox List).
- Customize the field labels and options as needed.
Step 4: Map Form Fields to Constant Contact
- Once your form is ready, open the form’s Settings.
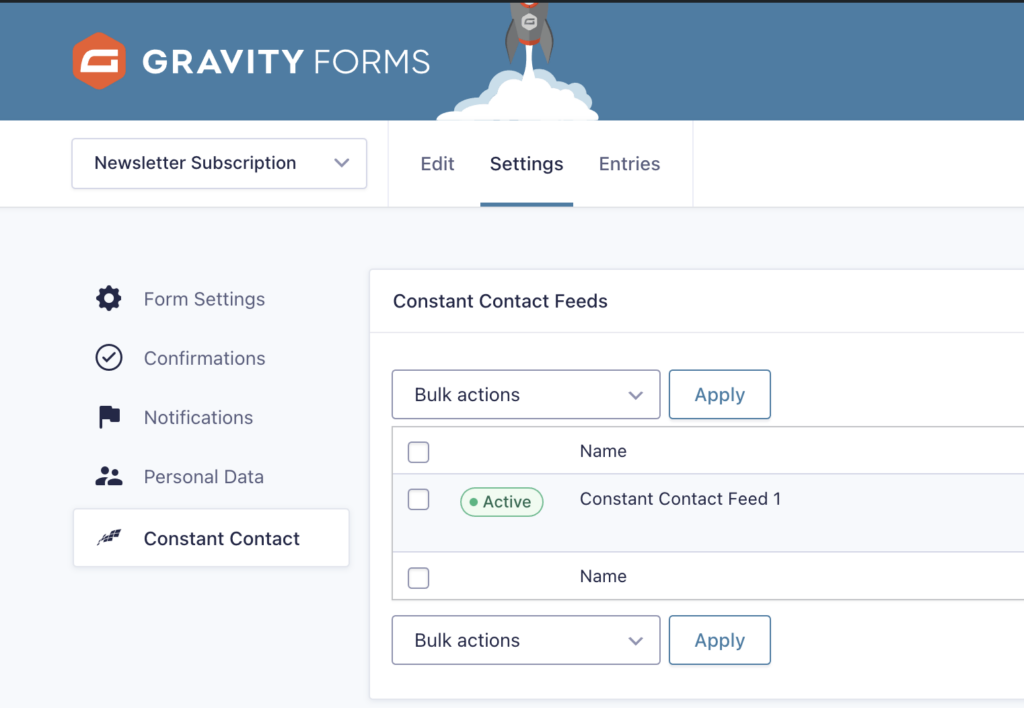
- Go to the Constant Contact tab and click Add New Feed.
- Choose the Constant Contact audience list where the data will be stored.
- Map the form fields to Constant Contact fields:
- Match the Name and Email fields as usual.
- At the bottom, map the checkbox lists to the corresponding Constant Contact custom fields (e.g., Identity → Identity, Interests → Interests).

Step 5: Set Up Segments in Constant Contact
- In Constant Contact, navigate to Contacts > Segments.
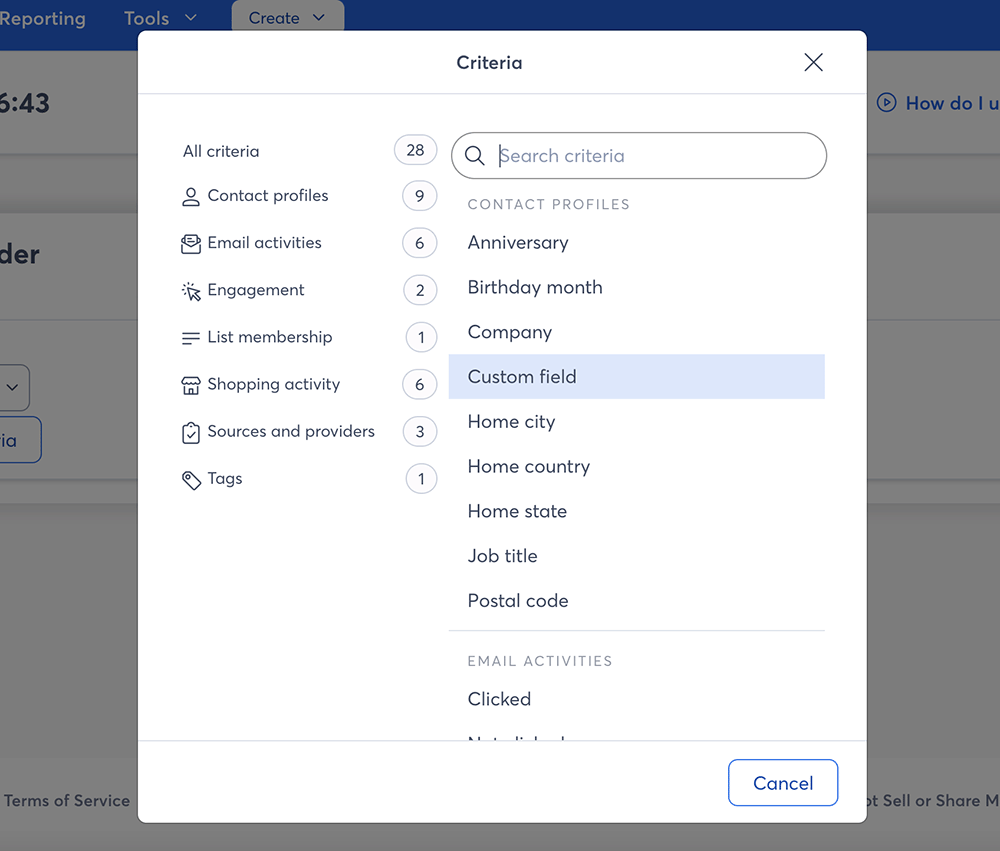
- Create new segments using conditional logic:
- Example 1: “If Identity is Farmer, add to the Farmer segment.”
- Example 2: “If Interest is Biodiversity, add to the Biodiversity segment.”
- Repeat this process for all identities and interests, creating targeted segments.

The Result
With this setup:
- Users are automatically added to relevant lists in Constant Contact based on their selections.
- Segments update dynamically, saving hours of manual sorting and list management.
- My client now has a streamlined system for targeting emails to specific groups, improving engagement and personalization.
Tips for Success
- Plan Your Segments Ahead of Time: Identify how you want to group and target your contacts before setting up custom fields and segments.
- Test Your Form: Submit test entries to ensure data flows correctly from the form to Constant Contact.
- Use Clear Labels: Make sure checkbox options are clear and descriptive for users filling out the form.
This process might seem complex at first, but once set up, it’s incredibly efficient and scalable. If you’re using WordPress and Constant Contact and need custom segmentation, this solution is worth considering!


